RRE – Reproducible Research Environment
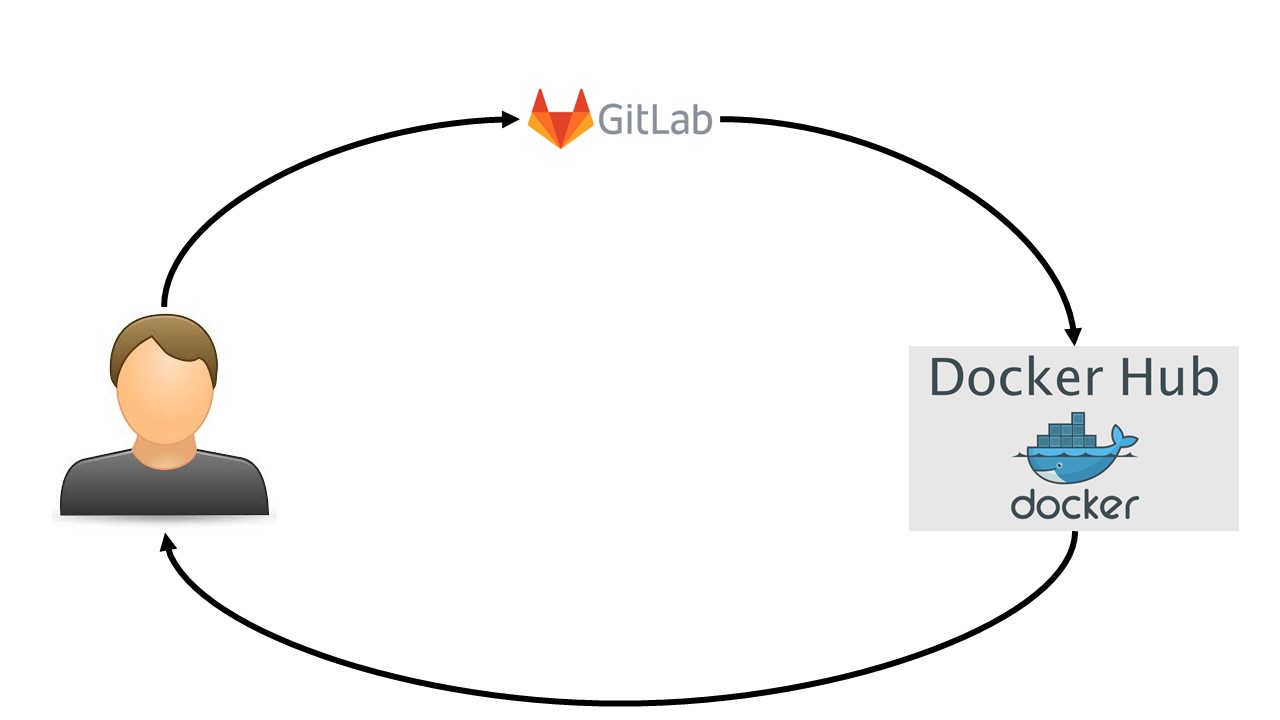
RRE is a one-shot project creator that scaffolds a reproducible R (and optional Python) research project backed by Docker and GitLab. It automates the setup of repositories, Docker images, and project structure to ensure computational reproducibility. It works in a very simple way. The workflow is depicted in the figure below.
Key Features
- Automated Setup: Creates a brand-new GitLab repository (via OAuth or PAT) and a local project folder with a sensible structure.
- Docker Integration: Produces a pinned Docker image (RStudio Server) and runs scripts.
- CI/CD Ready: Optionally wires up GitLab CI to build and push an image to Docker Hub.
- Python Support: Add reticulate / conda support (optional) and set up renv.
- Cross-Platform: Ships with both a GUI and a CLI, including OS-specific bootstrap scripts for Windows, Linux, and macOS.
Prerequisites
- Git and Docker installed and running.
- Python 3.11+ (The Windows script will auto-install Python if missing).
Quick Start
Windows
- Double-click
install_and_run_windows.bat. - The script will install necessary dependencies and launch the GUI.
Linux / macOS
- Open a terminal.
- Run the bootstrap script:
- Linux:
./install_and_run_linux.sh - macOS:
./install_and_run_mac.sh
- Linux:
What Gets Created
When you create a new project, RRE generates:
- A GitLab repository with an initial commit.
- A local folder containing:
- Standard directories:
Data/,Scripts/,Packages/. main.Rmd: A starter manuscript.Dockerfile: Based on a rocker image.run_project.sh/run_project.bat: Scripts to start RStudio locally.- Configuration files:
.Rprofile,.gitlab-ci.yml, etc.
- Standard directories:
Usage
Once the project is created, you can start your reproducible environment by running the run_project script in your project folder. This will launch RStudio Server inside a Docker container, accessible via your web browser (usually at http://localhost:8787).